Poor image quality in rain - Eufy cam

Hi, I recently had a solid week of continual rain. The Eufy camera’s image quality in rain is awful as water covers the lens the image gets very blurry and distorted.

Has anybody seen a “hood” for the camera to help prevent this or has anybody found a way around this?
image

2 Likes

Hey @Martin48
I think this can be a common problem with cameras with flush mount/exposed lenses.
It doesn’t seem Eufy makes weather hoods for their cameras.
It might have to be a DIY job, maybe house them in an open enclosure, move to a sheltered area or try a generic hood, something like this,

1 Like

Can be made easily!
I used such a bureau tray and fixed it like a little roof over an outdoor lamp
(which is not waterproof).
It’s cheap and easy to get everywhere, if you haven’t such one in the office

ablage

But care about the ankle (downward!

1 Like

Awesome ideas guys but shame the cameras don’t come with a weather hood.

1 Like

That’s absolutely true.
Those can be added easily.
This plastic part costs a few cents in production.

2 Likes

Yes, they would cost almost nothing to supply.
And after all this is an external camera, they should be a standard part of the pack

2 Likes

Just tape a piece of plastic as a cover

1 Like

I’m thinking of creating a CAD file of a visor and printing it out on a 3D printer. But I never used a CAD program before so it’ll take me forever unless someone can do one quicker. Lol

1 Like

Hey @iazybandit
That’s a great idea. I’m sure there’s someone in this community who might be able to help or direct you to some instructional material online.
Keep us up to speed with your progress.

1 Like

Those “modern CAD programs” are not so difficult to use.
But I would use something else to create such a simple cover.
We have so much plastic waste, so a fitting piece should be found!

I’m playing with Fusion 360. What would take someone probably 20 mins would take me 20 days. Lol.

Yes, I can probably cut up a jug, bottle or something but I’d have to glue it on when I can simply slide it on and remove it freely.

UPDATE #1

So I got my CAD file from my friend. I 3D printed out a prototype and its not bad at all for a first try.

As you can see, adjustments need to be made to the radius to the corners. It was designed to use M3 screws/nuts to hold it in place but I was able to find some Philips screws/nuts that fit as a test. I have to go to Home Depot to find equivalent screws/nuts (but shorter) for a more general and easier setup.

The sides come into frame just a wee bit depending how far up to the front but nothing that would cause the camera not to capture any footage. Currently, the visor sticks out about 1/2 inch. Not sure if I should leave it or extend it just a little bit more.

Overall, not bad for a prototype. I’ll post a follow up once the radius has been tweaked and reprinted. This would fit the EufyCam 1, 2 and 2 Pro as they share the same form factor.

I also plan on selling these once the design is finalized. It would be available in white and black.

2 Likes

UPDATE #2

  • Increased the radius of the corners and this closed up the gaps a lot. There is still a little gap but this is due to the curves on the camera. I think this is as close it will get.
  • Now that the gap is closed as much as possible, the overall size needs to be made smaller to give a tighter fit. When I tightened the screw, it was still loose.
  • Increased hood length by .15" (from .50" to .65") and this worked out well. This allowed me to push the print in line with the white casing of the camera.
  • I took a screenshot with the visor on and you can see just a smidge of it in the top corners. This can be fixed by pushing the visor back just a smidge.
  • Did the water test with a hose and for the most part, it blocked the water. I do have RainX applied. Of course this is all dependent on how your camera is facing, angled, type of water droplets from the rain, wind, etc. Same goes for snow.
  • My wife did notice that it provided a bit of shade and the video/live feed wasn’t as bright.

I ordered shorter screws so they don’t stick out and a sleeker profile.

Trying to figure out how much to charge and factoring in materials, packing materials and shipping costs (either included or buyer is responsible for shipping costs). Shipping international will be slightly more.

4 Likes

Great work @iazybandit
I love the benefits 3D printers are bringing.
For those with a little bit of creativity and know how they are great.
Glad it worked out well. There could be a market for these on eBay!

2 Likes

Great updates, glad you were able to solve it

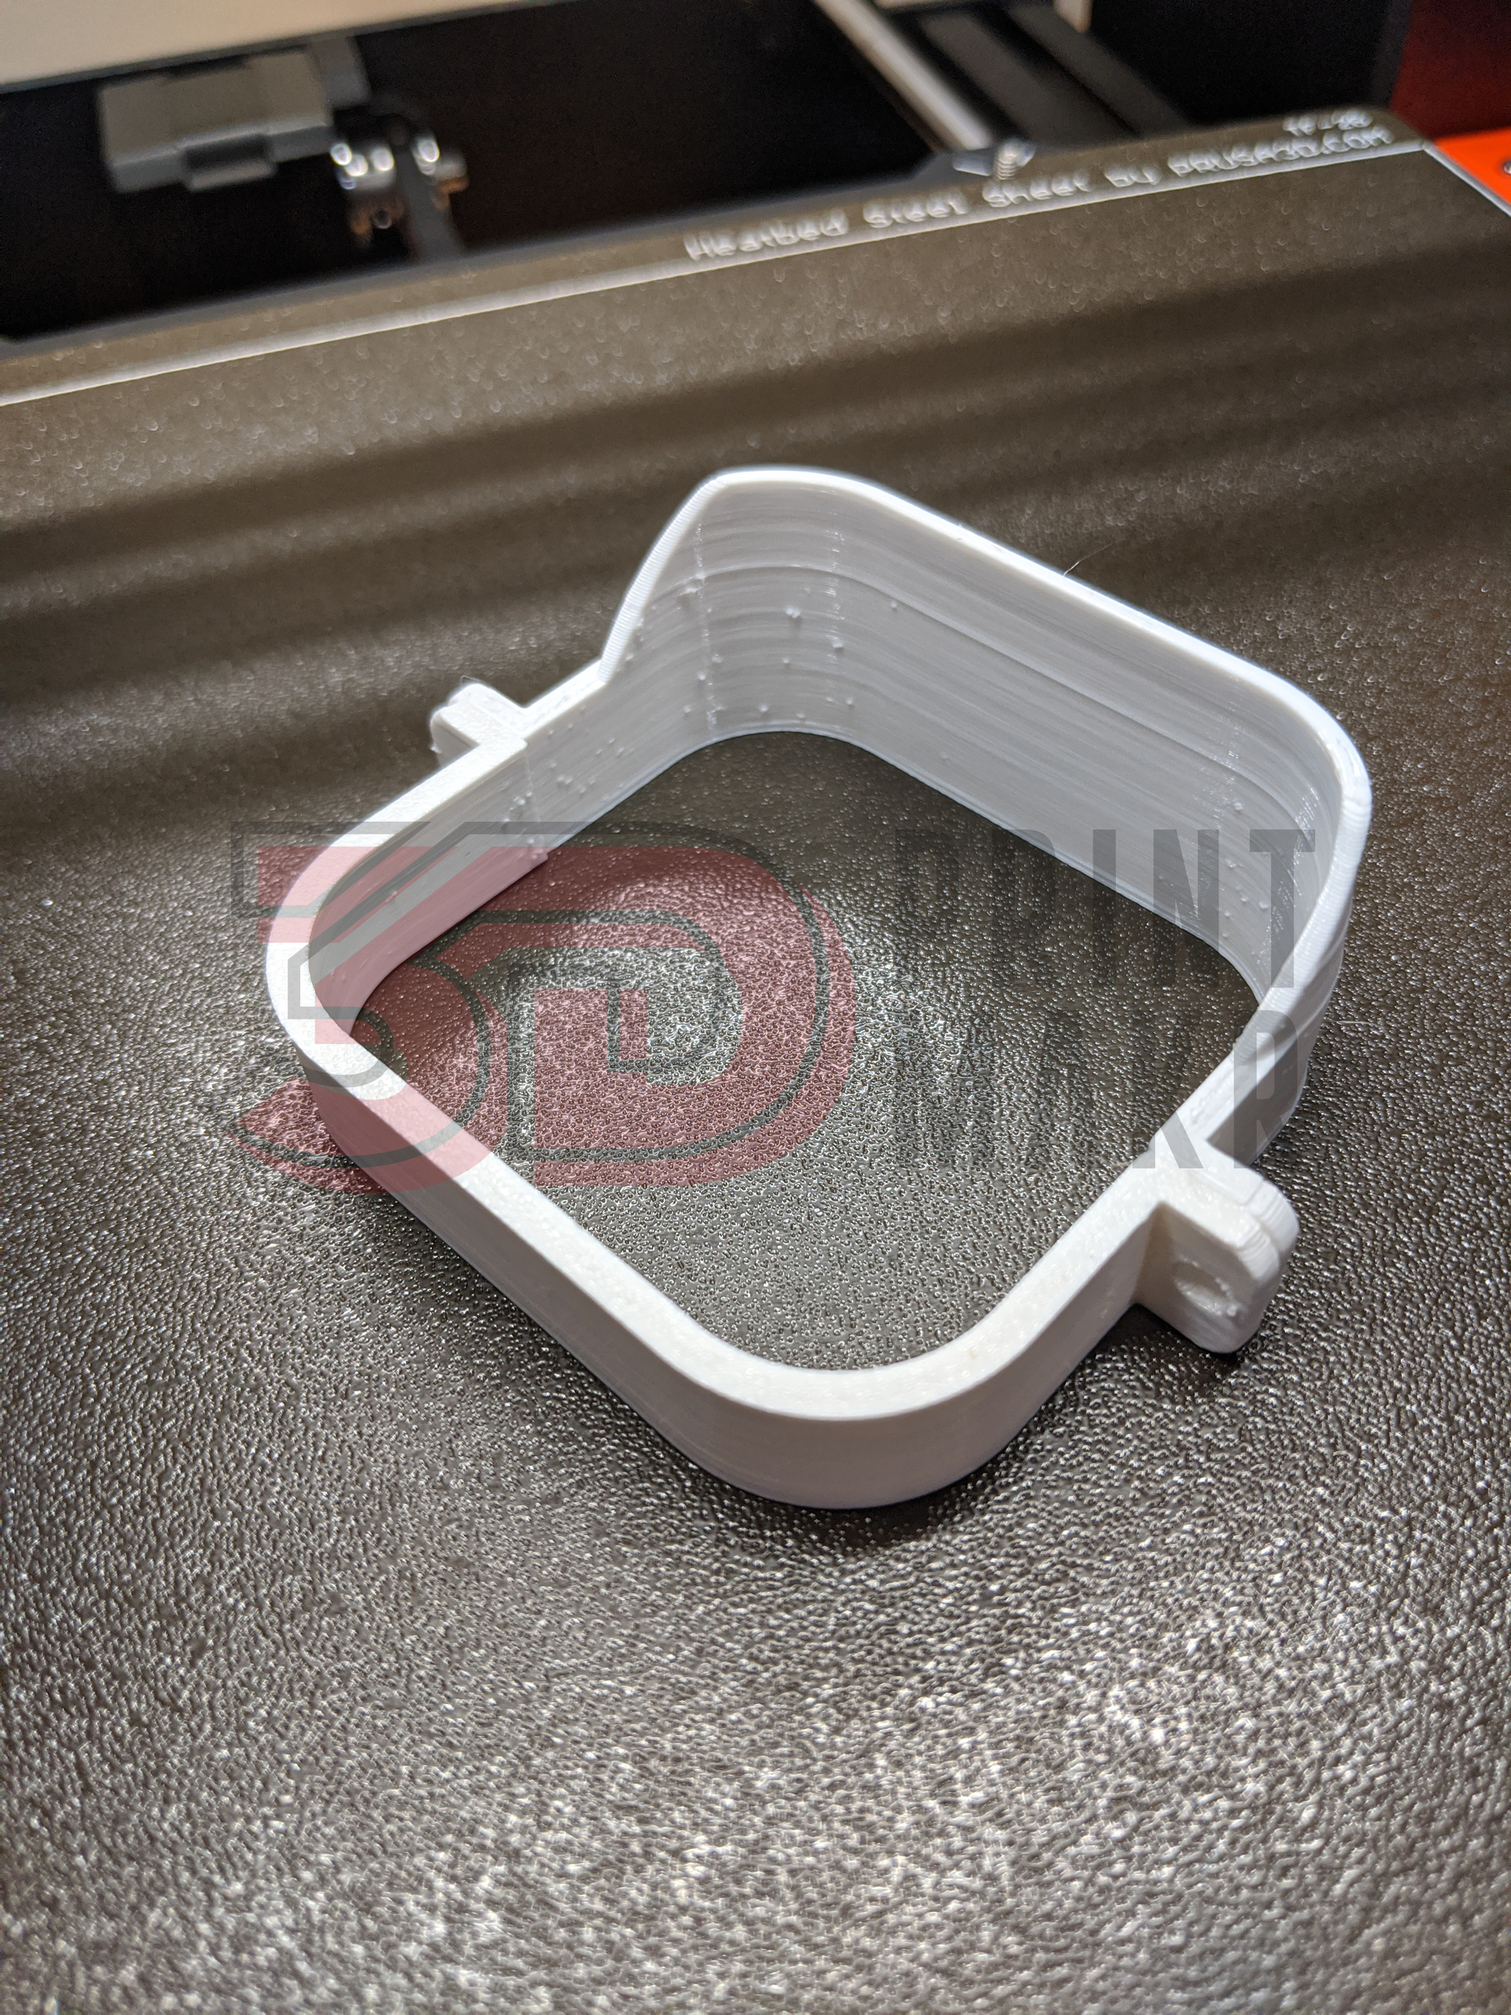
Thank you all for your interest. Although it looks great, I have decided to stop working on it for now. The issue is the IR sensor reflects off the hood and causes the image/video to go white at night. I have tried painting the inside of the cover black, adjusting the positioning but that IR sensor is just too strong.

Only time I was able to get a viewable image was pushing the hood as far back as possible leaving about 1/4 inch sticking out which isn’t really much.

I will have to look into maybe expanding the hood wider to avoid the IR sensor?

1 Like