Does anyone has a teardown of the Nebula Capsule the very first one?
My gf dropped it by accident and now when you shake it there is something loose inside. But it is still working.

Does anyone has a teardown of the Nebula Capsule the very first one?
My gf dropped it by accident and now when you shake it there is something loose inside. But it is still working.
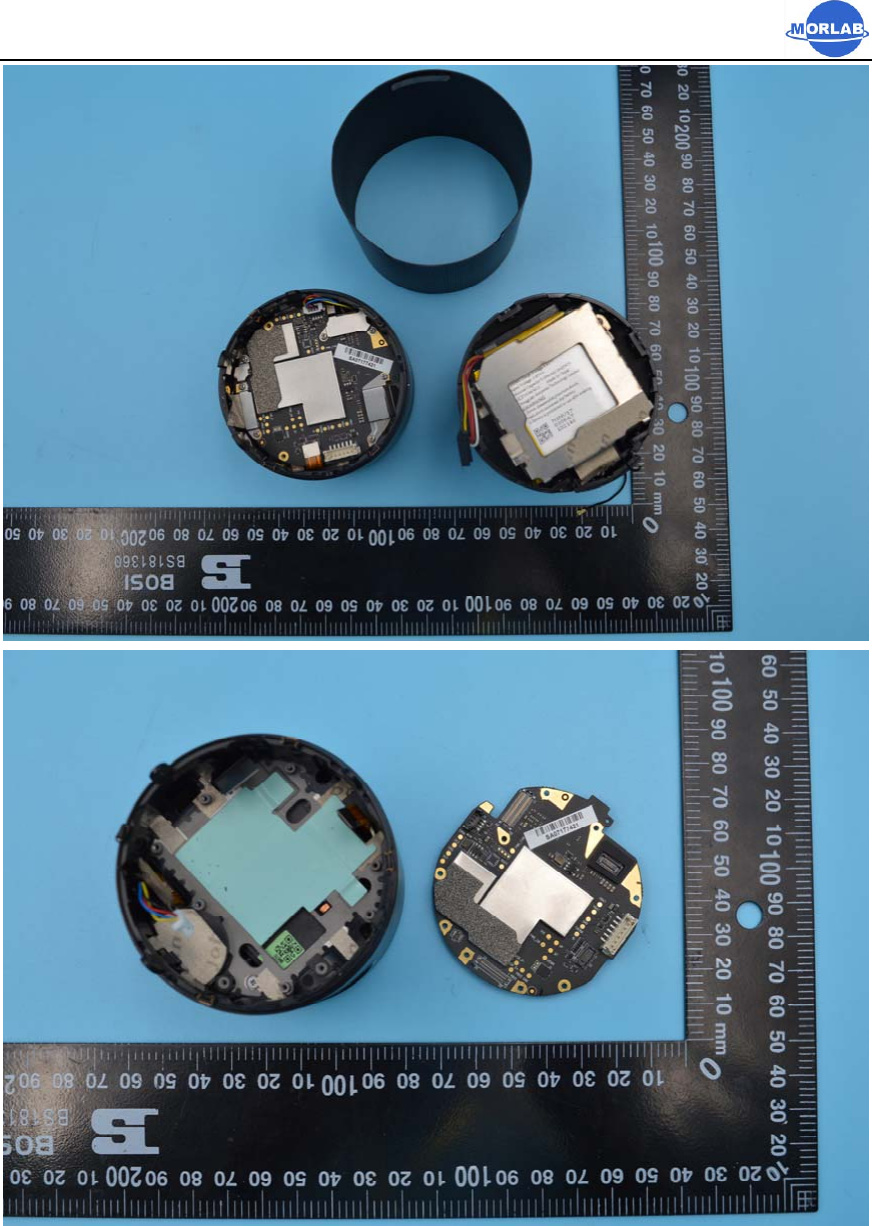
Personally I don’t think taking it apart and voiding the warranty is worth it just to get rid of a minor annoyance but if you do decide to take it apart here are some pictures. looks like all of the screws are on the bottom but you’ll need to pop of the base to access them.
Link
I love finding these sort of posts. It is nice to see what does into the tech we use.
Yeah, that is the only one that I found. Was wondering if there is a step by step ones, like ifixit.
The reason I want to try and fix it is because I travel with it a lot and dont want it keep banging around and create more damage.
My Capsule is making weird noises when starting up, very loud and scratchy. I was thinking, maybe something’s up with the fan(s?). So I took it apart as far as I could. Bottom (daughterboard) and middle part (battery and speaker) are not such a problem, there are some dust shields (like very fine mosquito nets) that are just glued to the case, which can be taken off very carefully and stored in a good place during the repair (I stuck them to a roll of double-sided tape so the glue would stay as clean as possible). After those are removed, all screws can be accessed, the top can be detached from the middle part, be careful with the antenna cord, flex cable and the battery plug when separating the parts. Where I got stuck was the mainboard. I was not able to take it off its casing, it seems somehow stuck/screwed/glued in there and I didn’t wanna use brute force to rip it out. The top cover, which houses the control buttons (volume, on/off, speaker mode) can be snapped out with a plastic pry tool. I came this far, but wasn’t able to acces the unit between this control interface and the mainboard. This would be the place that holds the lens, LED and fan / heatsink. Basically the most interesting part of the projector. If anyone knows how to get there, would be amazing. I also thought about making a disassembly video about it, but it would be a shame to have this last part unsolved.